Laundry Closet Organization Ideas: 15 Ways to Maximize Storage
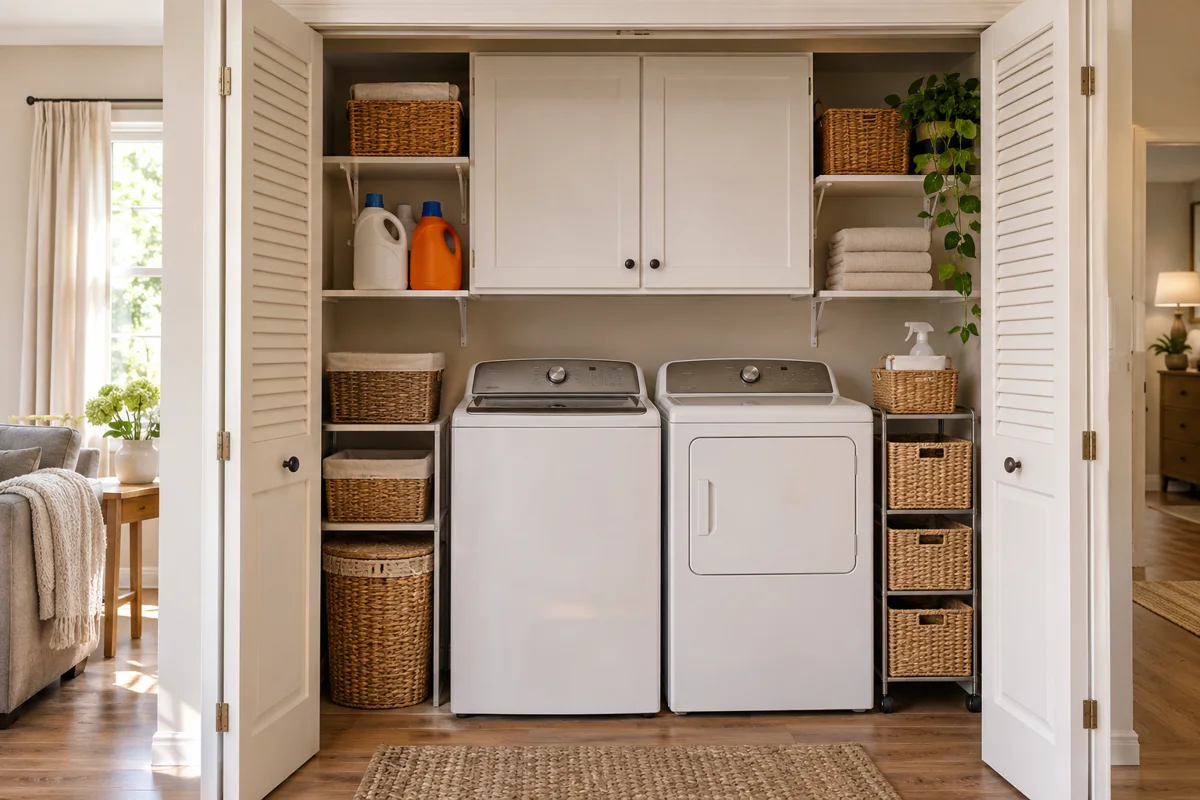
The most useful laundry closet organization ideas make the next load easier to finish. They give dirty clothes a starting point, supplies an accessible but secure home, and clean laundry somewhere to go. More shelves help only when you can use them without lifting out three other things first.
Images are AI-generated organizing concepts, not tested installations. Store products in their original labeled containers and follow appliance and furniture instructions.
This guide focuses on organizing a closet you already have. Keep the machines, utility connections, ventilation, and required access intact. Start by removing unrelated storage, then arrange what remains around your routine. A few correctly sized containers can do more than a wall of matching bins.
Empty the storage, not the appliance space
Take baskets and loose belongings out of the closet while leaving appliances and connections alone. Sort everything into four groups: products you currently use, laundry tools, household items that belong elsewhere, and things to dispose of according to their labels and local guidance. Do not mix leftover chemicals or transfer them between containers.
Wipe accessible shelves and let surfaces dry before returning anything. Check for dampness, leaks, damaged shelves, or unstable furniture. Solve those problems before covering them with baskets. A storage makeover should make trouble easier to notice.
Measure shelf width, depth, and the clear space above each shelf. Also measure the size of the opening through which a basket must pass. A container can fit on the shelf and still be impossible to remove through a door frame. Test reach while standing safely on the floor; routine supplies should not require climbing over a machine.
Choose the right container for the job
| Item | Useful storage | Watch for |
|---|---|---|
| Dry cleaning cloths | Small open basket | Room to return them easily |
| Original detergent containers | Secure suitable cabinet or shelf | Child access, leaks, and label instructions |
| Empty hangers | Short dedicated hanging space | Interference with doors or ventilation |
| Clean folded towels | Dry linen shelf | Separation from chemicals |
| Dirty laundry | Removable appropriate hamper | Blocked floor access and damp items |
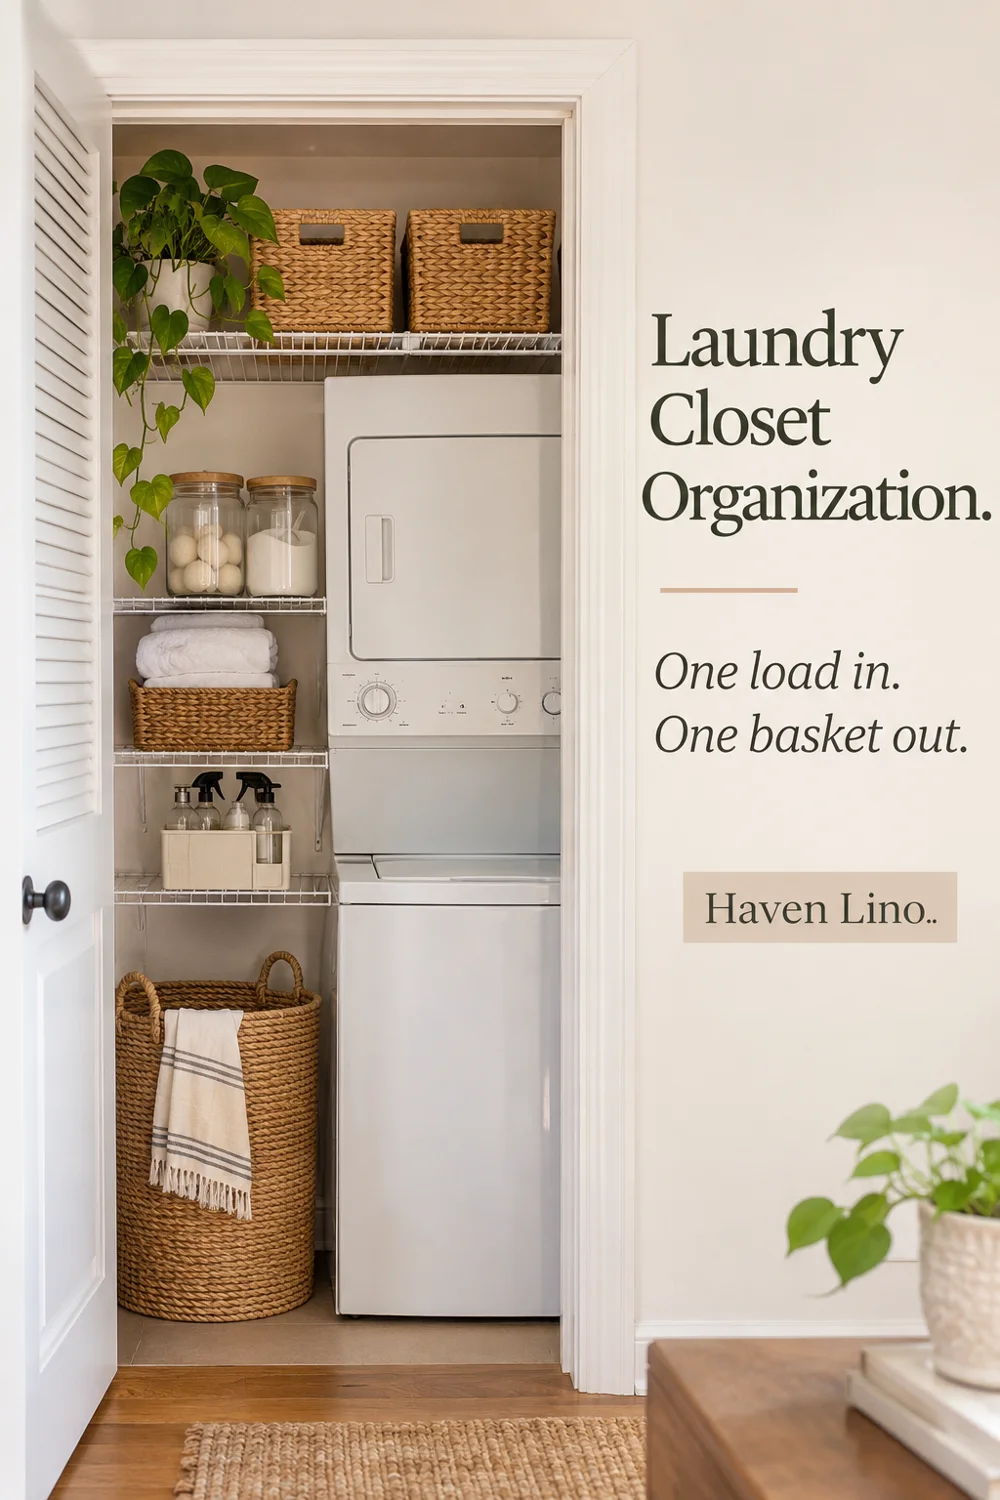
15 ways to organize the closet around a complete load
1. Give each shelf one clear purpose
Assign shelves to jobs instead of spreading a little of everything across the closet. One might hold dry laundry tools, another clean linens, and a secure location might hold products. This makes it easier to see where something belongs.
Try the arrangement before labeling. If you use a stain brush every load, placing it behind spare towels will create unnecessary movement. Keep the items used together near one another while respecting product-storage requirements. Leave a small amount of unused space so shelves do not become puzzles.
2. Limit the closet to active supplies
Keep the products your household actually uses rather than building a display of every laundry option. Gather duplicates and decide which container to finish first. Store any retained backups in a suitable secure location, with original labels intact.
A small closet is easier to organize when each bottle earns its space. Do not keep an unsuitable product merely because it matches the baskets. Follow disposal guidance for items you will not use, and avoid combining remnants to make the shelf look tidier.
3. Use a shallow tray for small daily tools
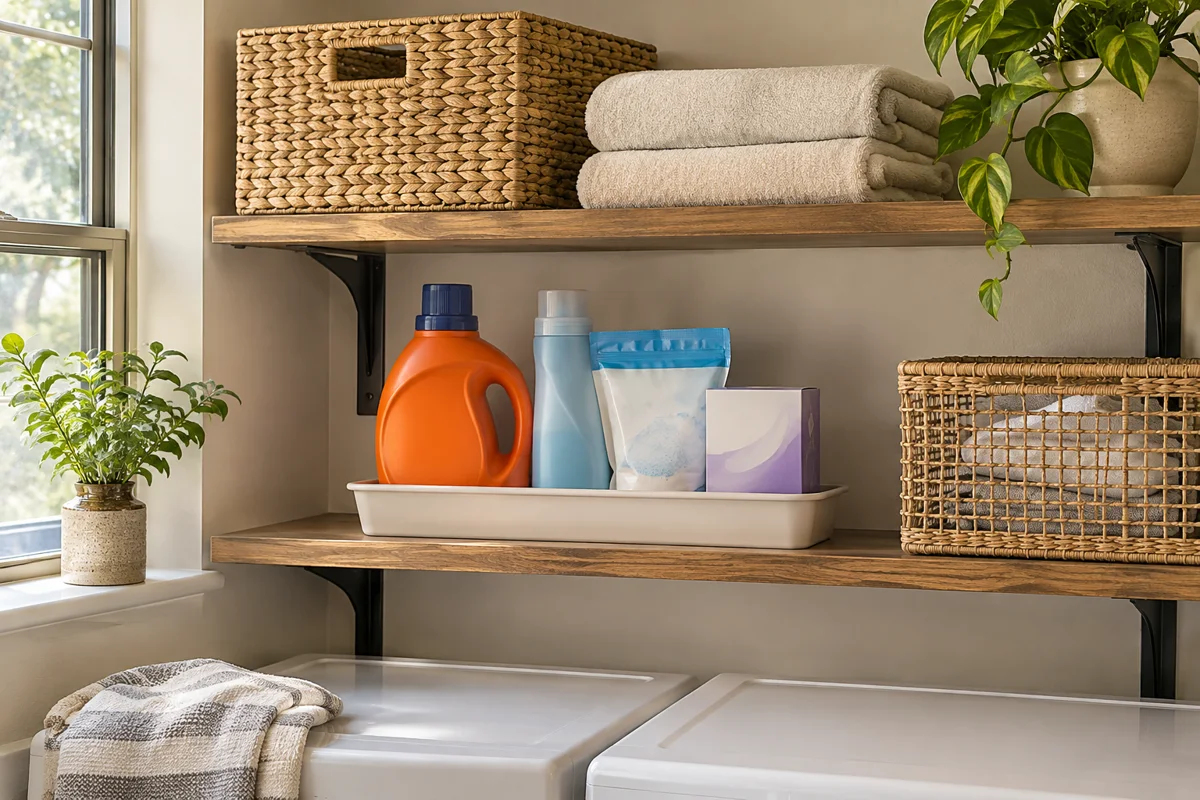
A shallow tray can corral a fabric brush, lint roller, spare measuring tool intended for its product, and a small mending pouch. Choose a tray you can lift with one hand without bumping the shelf above it.
Keep the tray away from appliance controls and vents. It should have a stable home on an appropriate shelf, not on a vibrating machine. If a tray holds several unrelated tasks, split it into two smaller groups rather than buying a larger tray that hides the contents.
4. Size baskets for the opening, not just the shelf
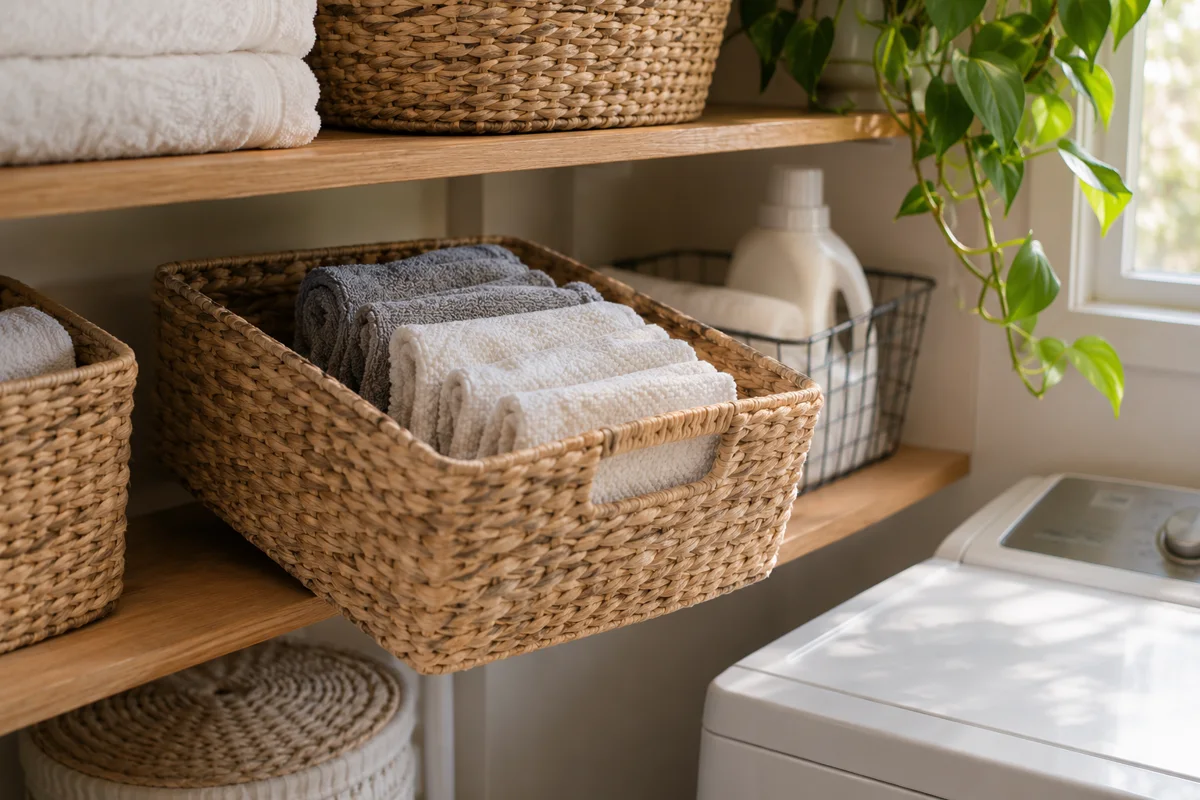
Measure the inside of the closet and the doorway. Include hinges, folding-door panels, and handles that reduce the opening. Test a cardboard box of the proposed size before purchasing a set of containers.
Leave finger room around baskets. A tightly fitted container may look custom but be frustrating to remove. For deep shelves, a lighter pullout basket can bring small items forward, provided the shelf and basket are suitable for the load. Avoid filling a large bin so heavily that you cannot control it safely.
5. Separate sorting from storage
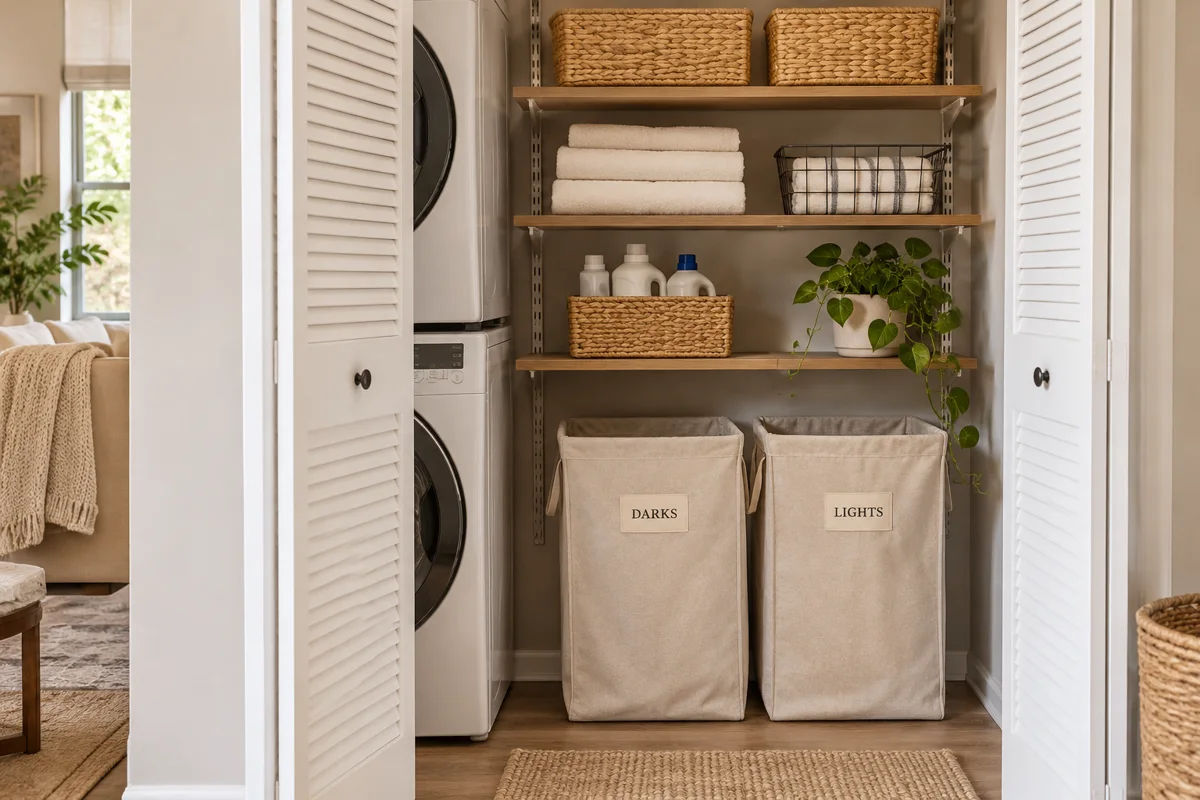
A hamper receives dirty clothes; a supply basket holds tools. Giving them separate homes prevents a clean basket from becoming a temporary shelf for bottles. Decide whether your closet actually has room for sorting or whether sorting belongs closer to the bedroom.
For a closet with usable floor space, try two slim hampers only if both can be removed without blocking the machines. For a tight opening, bring one load at a time. Do not treat the floor in front of the washer as permanent hamper parking.
6. Create a clear clean-laundry landing spot
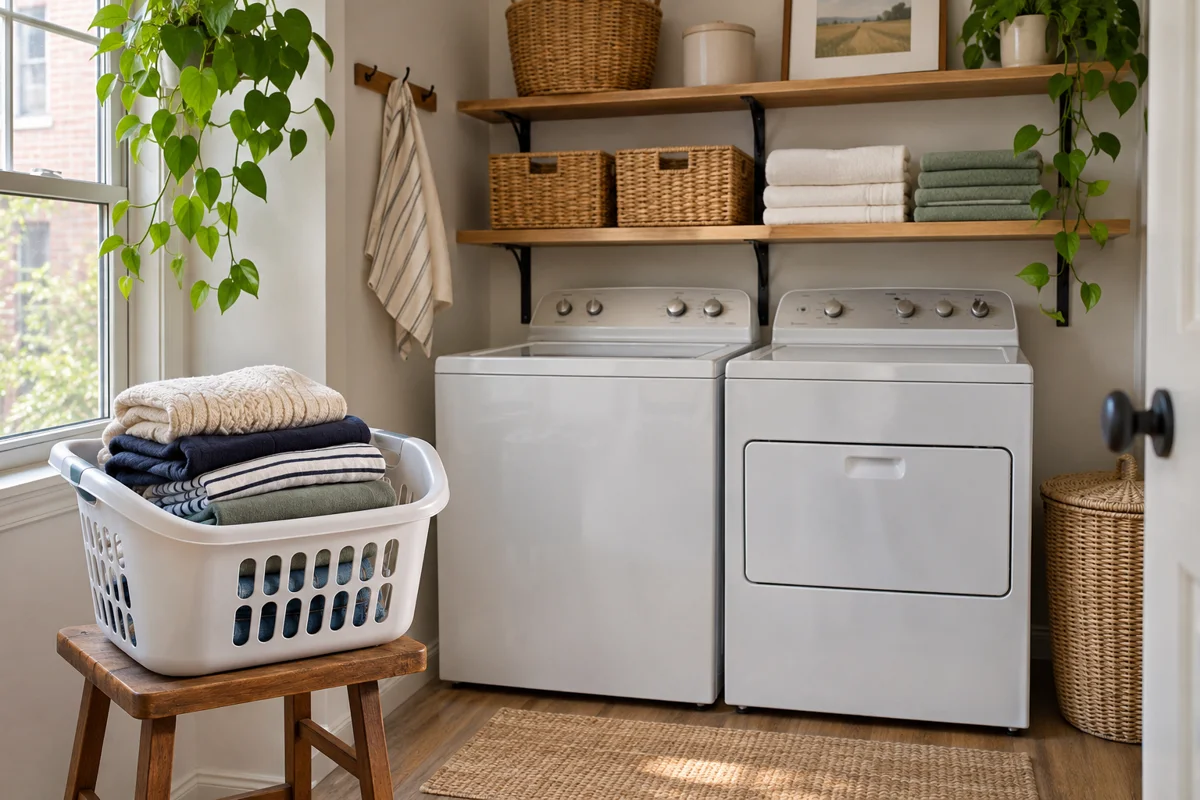
Choose where clean clothes go when the dryer opens. A lightweight basket on a separate stand or a nearby table may be sufficient. Position it so the dryer door does not trap you on the wrong side.
Reserve that basket for clean laundry. When it is full, finish putting the contents away before loading it with the next batch. A clearly defined destination reduces the temptation to pile clothing on machine tops, where it can obstruct controls or openings.
7. Keep empty hangers together
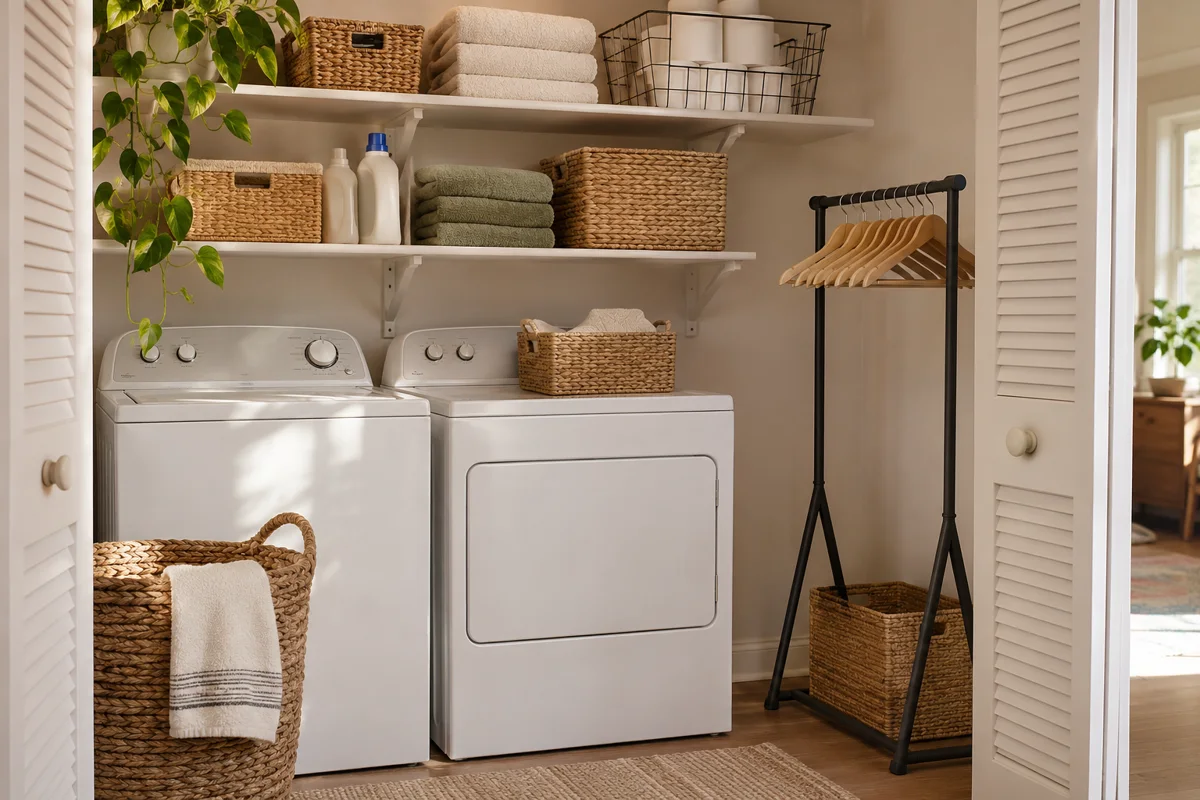
Collect empty hangers in a dedicated basket or on a suitable short rack near the unloading area. Match the amount of hanger storage to the garments you normally hang, rather than storing the household’s entire spare collection in the laundry closet.
A hanging solution must not obstruct doors, ventilation, lights, or service access. Do not use a tension rod for wet clothing unless its instructions, surface requirements, and load rating suit that purpose. If the closet lacks safe room, keep hangers in the bedroom and move clean garments there.
8. Make high shelves a lightweight reserve zone
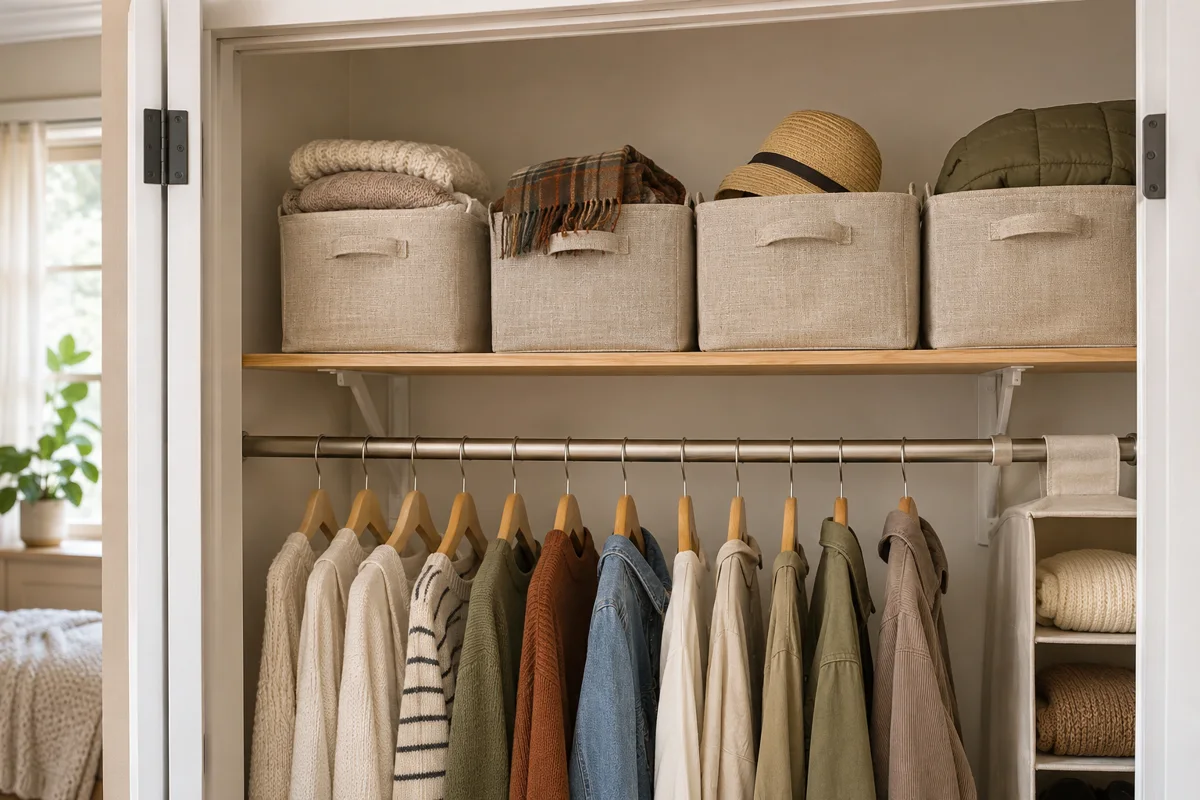
Upper shelves can hold occasional dry items, such as an empty spare fabric hamper or a small quantity of seasonal linens. Choose light containers you can handle safely. Heavy bottles on a high shelf can be difficult to control, especially while reaching around appliances.
Do not interpret high as automatically secure. Children can climb, and a container with an attractive appearance can draw attention. Products need storage suited to the household and label guidance, not simply a place above eye level.
9. Use a door organizer only where the door still works
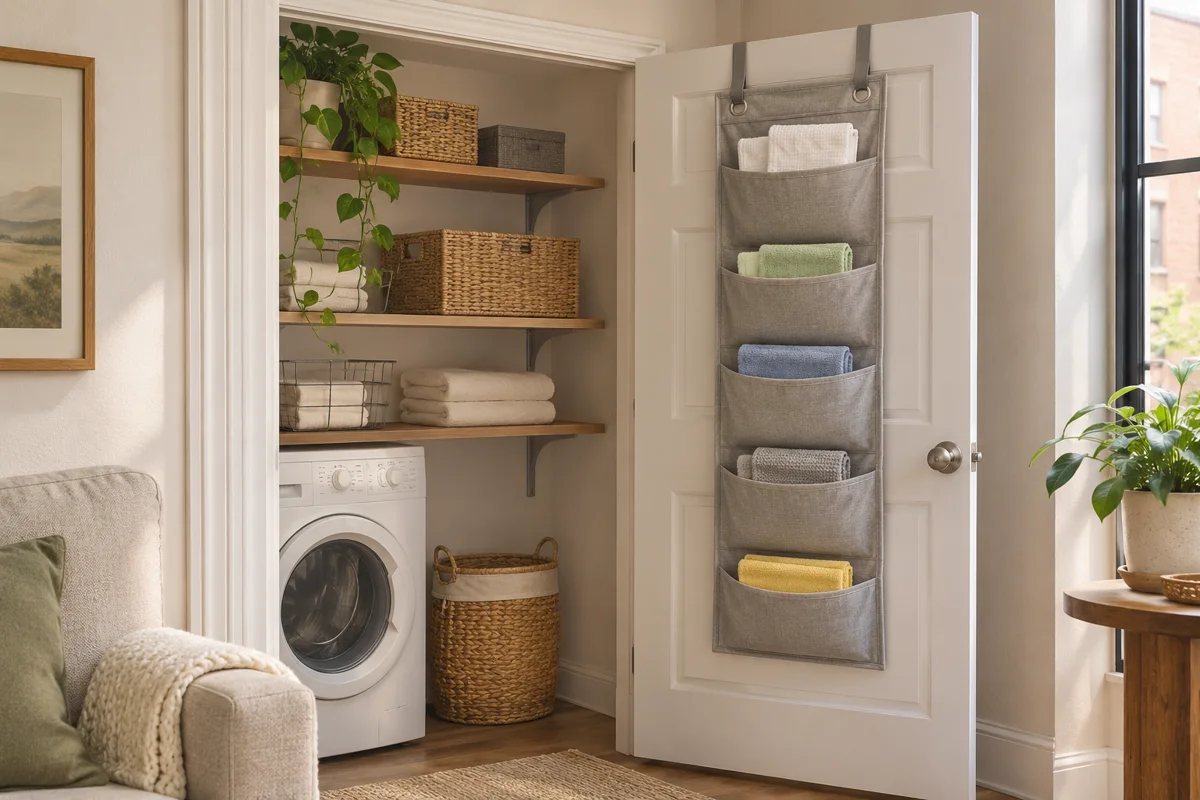
A lightweight over-door organizer may hold dry cloths or empty laundry bags. Check the door thickness, top clearance, and organizer dimensions. Close and reopen the door gently before filling pockets; the hardware should not scrape the frame or strain the hinges.
Keep pockets clear of appliance controls and hot or moving surfaces. Do not cover ventilation openings. In a rental, check whether the product and installation method are permitted. A door that no longer closes comfortably is a sign to choose another storage location.
10. Use shelf risers for visible dry storage
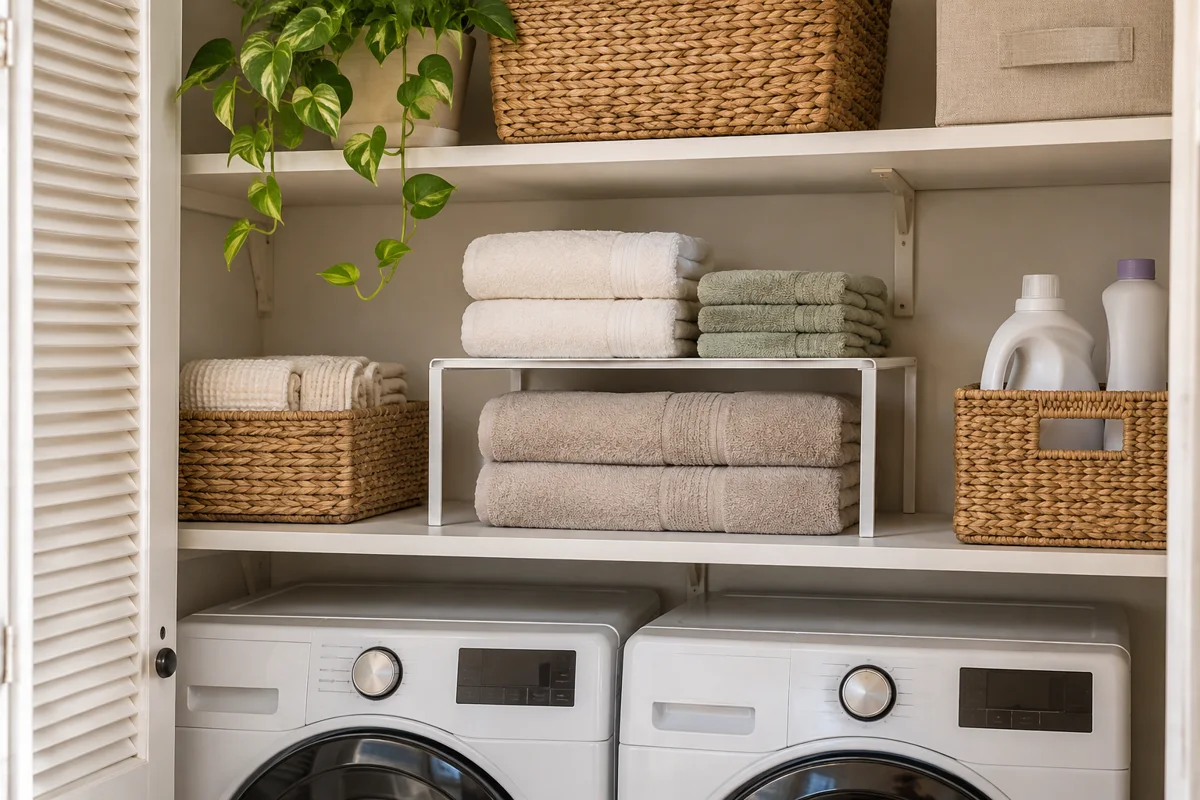
A shelf riser can separate two small groups of clean cloths or towels, reducing the need to lift a tall stack. Measure both the riser’s footprint and the height remaining above it. Choose a stable design that sits fully on the shelf.
Avoid stacking risers unless the product is designed for it. Do not use them to create a tower of heavy containers. The practical benefit is visibility and easy access, not fitting the maximum possible number of items into a shelf opening.
11. Try freestanding shelving in an unused side bay
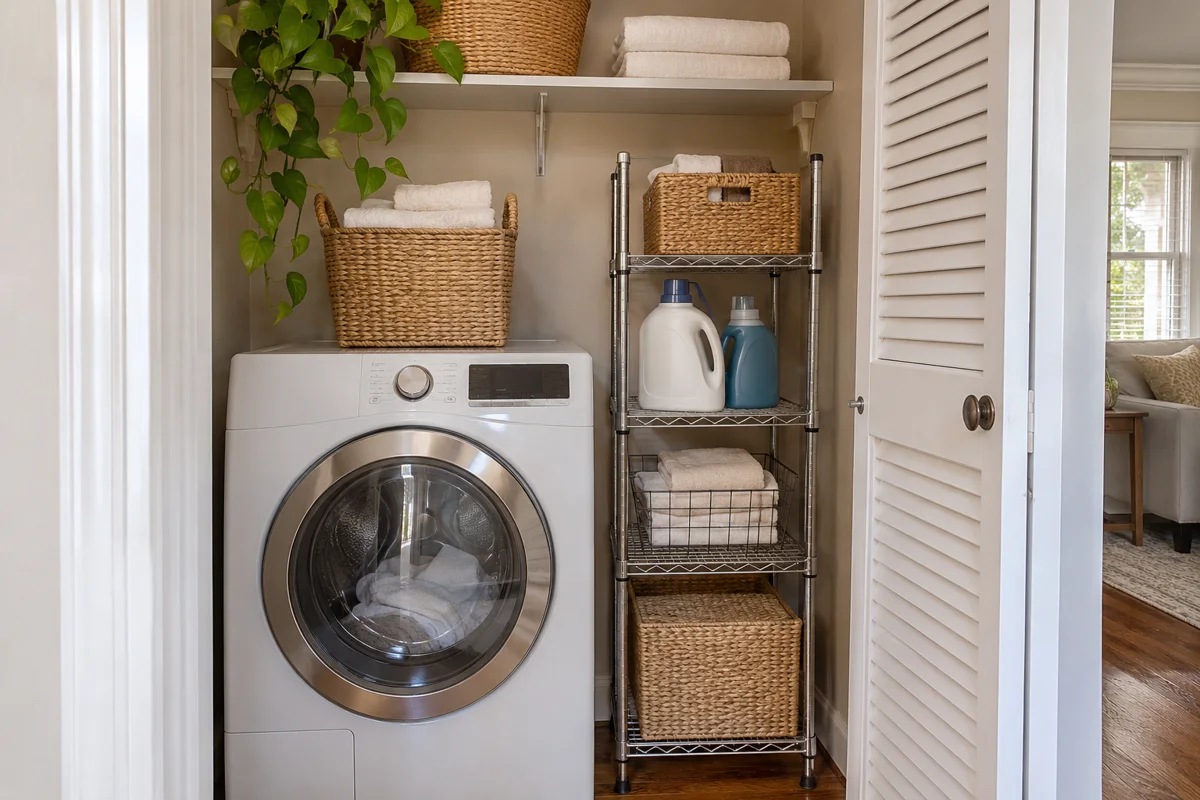
If the closet has a genuine spare bay, a narrow freestanding shelf may organize dry supplies without changing the wall. Measure the unit’s complete footprint, including feet, and preserve the appliance manufacturer’s clearance and service requirements.
Read the assembly and anti-tip instructions. Some shelving requires wall anchoring, even though it is described as freestanding. If you cannot install the required restraint, choose a different product. A tall unstable shelf is not an acceptable tradeoff for avoiding screw holes.
12. Give a slim cart a parking and working position
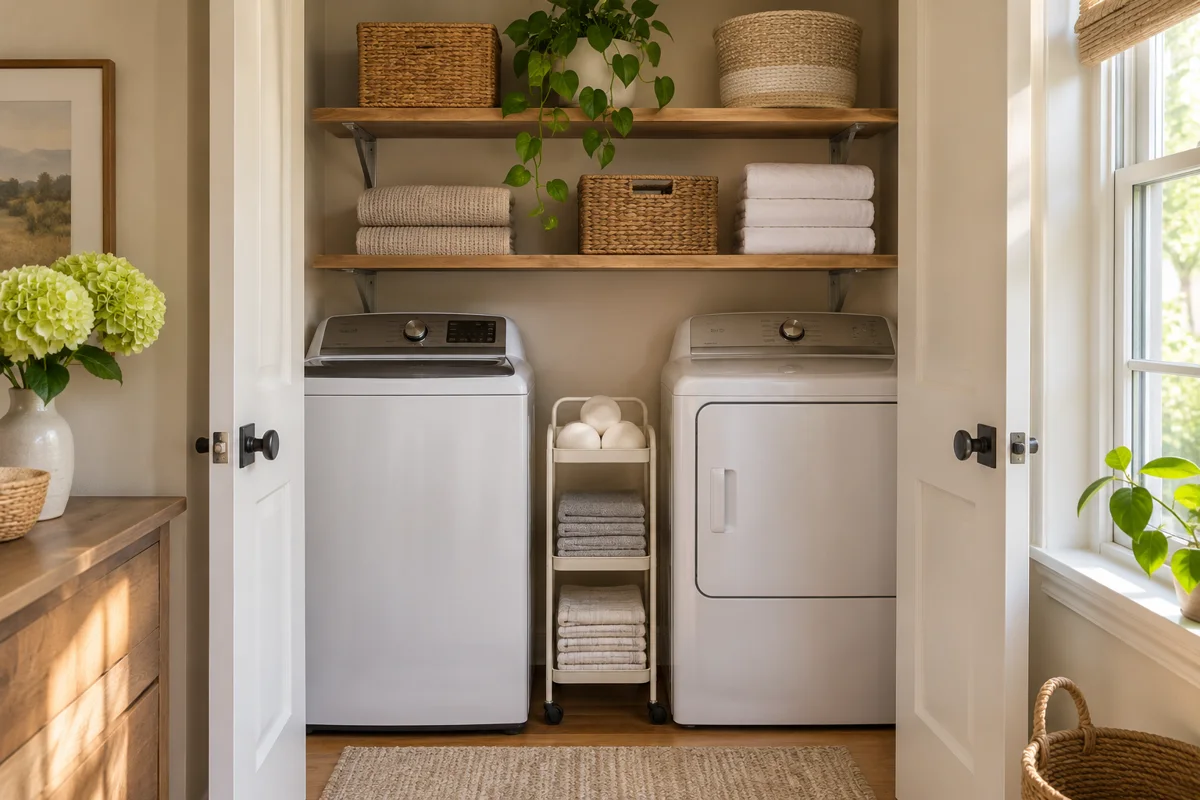
A narrow rolling cart is useful only when it can roll out comfortably. Include handles, wheels, baseboards, and the path needed to turn it. Check that the cart does not occupy an appliance clearance zone.
Use it for appropriate lightweight dry accessories unless its location and the household make product storage suitable and secure. Keep heavy items low, follow the cart’s load rating, and avoid hanging bags from the handle. If the cart must be moved several times per load, a fixed basket elsewhere may be simpler.
13. Fold away the overflow equipment
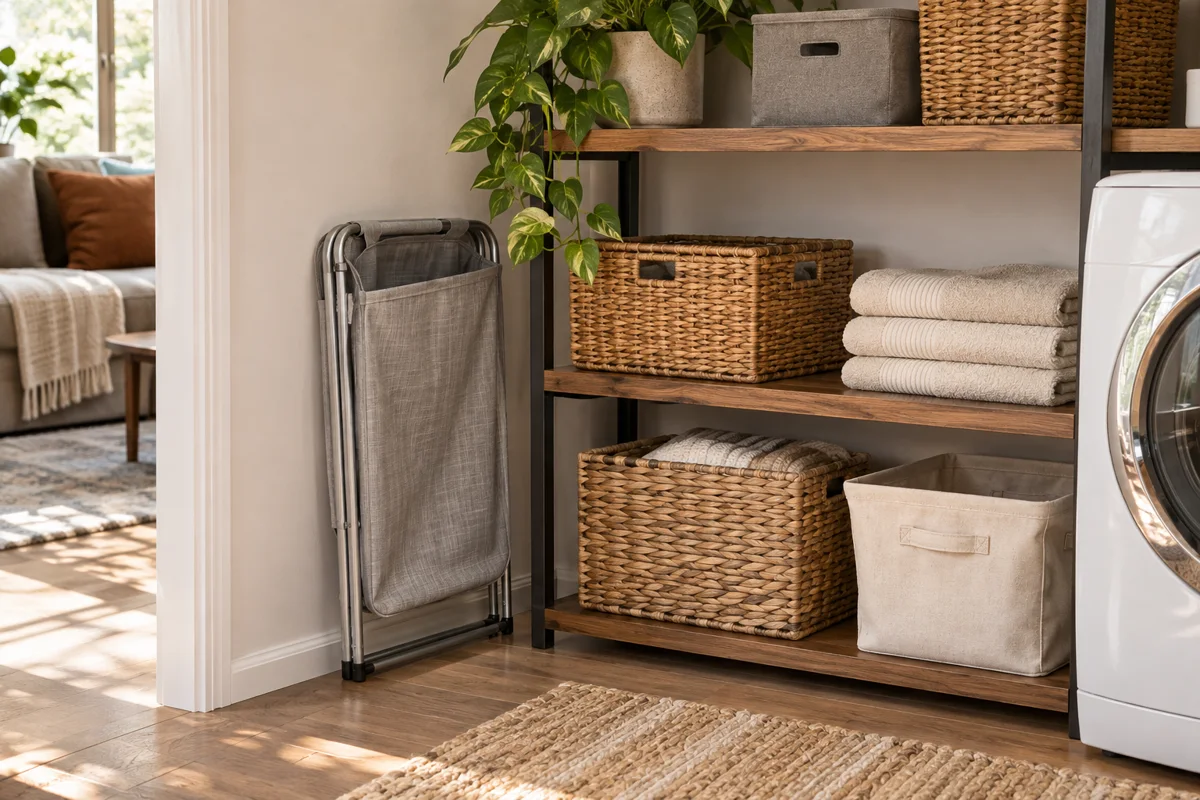
A collapsible empty hamper or folding rack can reduce storage volume between uses. Assign it a dry parking place where it cannot fall against appliance connections. Check the folded depth as well as the height.
Allow equipment and fabrics to dry before closing them away. A damp drying rack pushed behind a machine is hard to inspect and clean. Do not use the storage gap behind appliances as a convenient slot unless it is outside required clearance and service areas.
14. Make labels describe actions
Labels such as clean cloths, empty hangers, and to mend are easier to follow than broad labels like miscellaneous. Use a small number of categories so putting things back requires little thought.
Place labels where you can see them without moving containers. For shared households, plain words often work better than decorative abbreviations. Label storage baskets, not replacement chemical containers; laundry products should retain their original packaging and original safety information.
15. Build a short reset into the end of a load
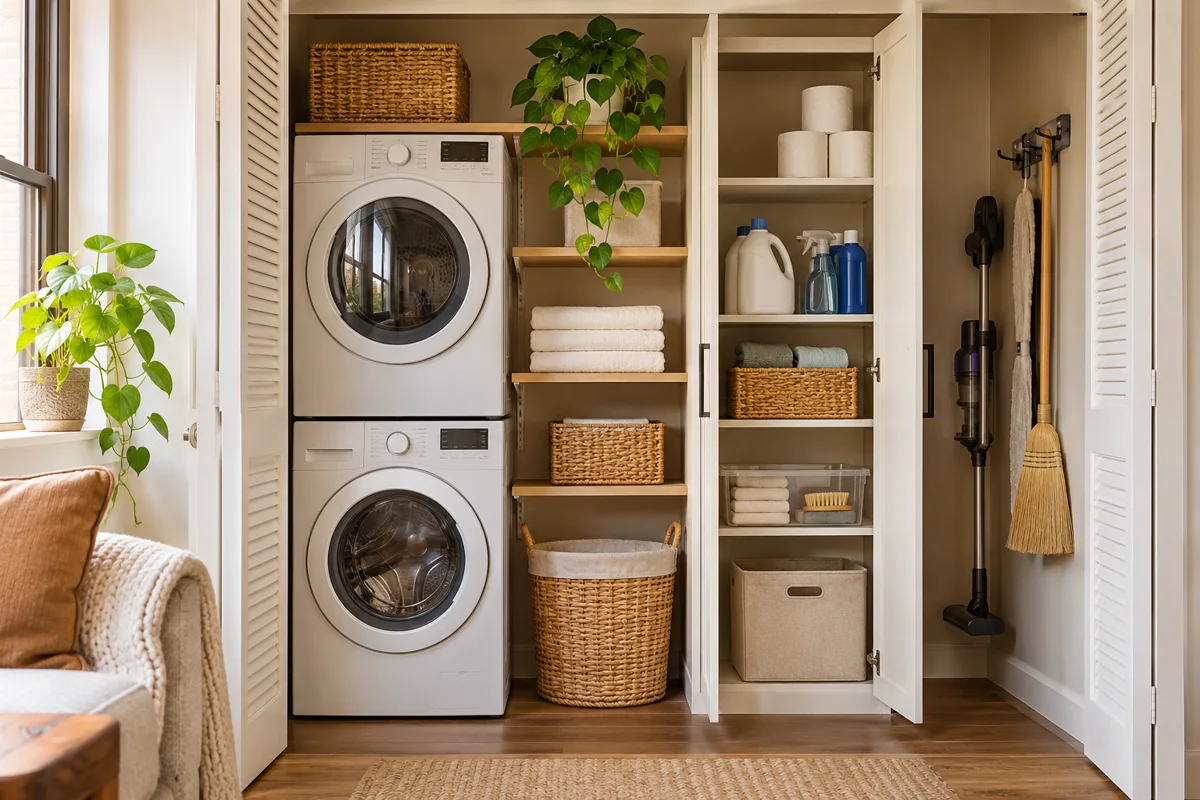
When the clean clothes leave the closet, return tools, close product containers, and clear the floor. Wipe accessible spills according to the product label and keep cleaning tools where they can dry properly.
Review the setup after a week of ordinary use. Notice which basket stays out or which shelf becomes crowded. Change the location or reduce its contents. A successful system is one people can maintain without restaging the room each evening.
A practical closet setup for three common households
One person with a very narrow closet
Keep the current load in one portable basket. Put dry tools in a small shelf tray and keep products in a secure suitable location. Store the folding rack elsewhere if opening it blocks the hallway. Folding can happen on an existing clean table.
The key is reducing objects at the machine opening. Buying a second hamper may make sorting look organized while making access worse. Start with the minimum working setup and add storage only for a specific unresolved task.
Two adults sharing a laundry routine
Agree on one clean basket location and one place for items needing special treatment. Keep care labels with the garments and avoid assuming a separate basket communicates washing instructions. If one person starts loads and another finishes them, a simple shared note can prevent confusion.
Use the same storage categories for both people. Separate personal product collections often duplicate clutter. Keep only the supplies each household actually needs and preserve safe original-container storage.
A household with children or pets
Prioritize secure product storage before adding decorative organization. Open carts and low baskets may be unsuitable for chemicals in an accessible closet. Keep packaging closed immediately after use and return it to its secure home.
The American Cleaning Institute recommends original containers with original labels intact. Furniture, hooks, and shelf access should also suit the household; do not create an appealing climbing arrangement beside an appliance. Follow required anti-tip instructions for any furniture.
A buying checklist that prevents storage mistakes
- Measure the doorway opening and the shelf, including trim and hinges.
- Check that the container can be removed while appliance doors are open.
- Confirm the shelf or furniture load rating and any anchoring requirements.
- Choose washable or wipeable materials appropriate for their location.
- Make sure handles remain easy to grasp with the basket loaded.
- Keep chemicals in original packaging and choose secure storage.
- Buy one sample container before committing to a matching set.
Do not assume a product advertised for laundry storage suits your appliance arrangement. Dimensions in a listing may exclude handles or wheels, and a photograph may show a different machine size. Check the complete specifications and return policy.
Questions about organizing an existing laundry closet
Should I remove the doors to make the closet easier to use?
Not automatically. Doors can have ventilation and building-related functions, and rental changes may need permission. First reduce objects that interfere with opening them. Any door modification should suit the appliances’ instructions and applicable requirements.
Can detergent go in clear matching jars?
Keep laundry products in their original labeled containers. If visual clutter bothers you, a suitable secure cabinet can conceal the original packages. Attractive open jars can obscure instructions and may make laundry packets resemble food.
How much empty shelf space should I leave?
There is no universal percentage. Leave enough room to take out and return the items comfortably without moving unrelated containers. If every return requires rearranging the shelf, reduce the contents or change the container sizes.
Finish a load before adding another organizer
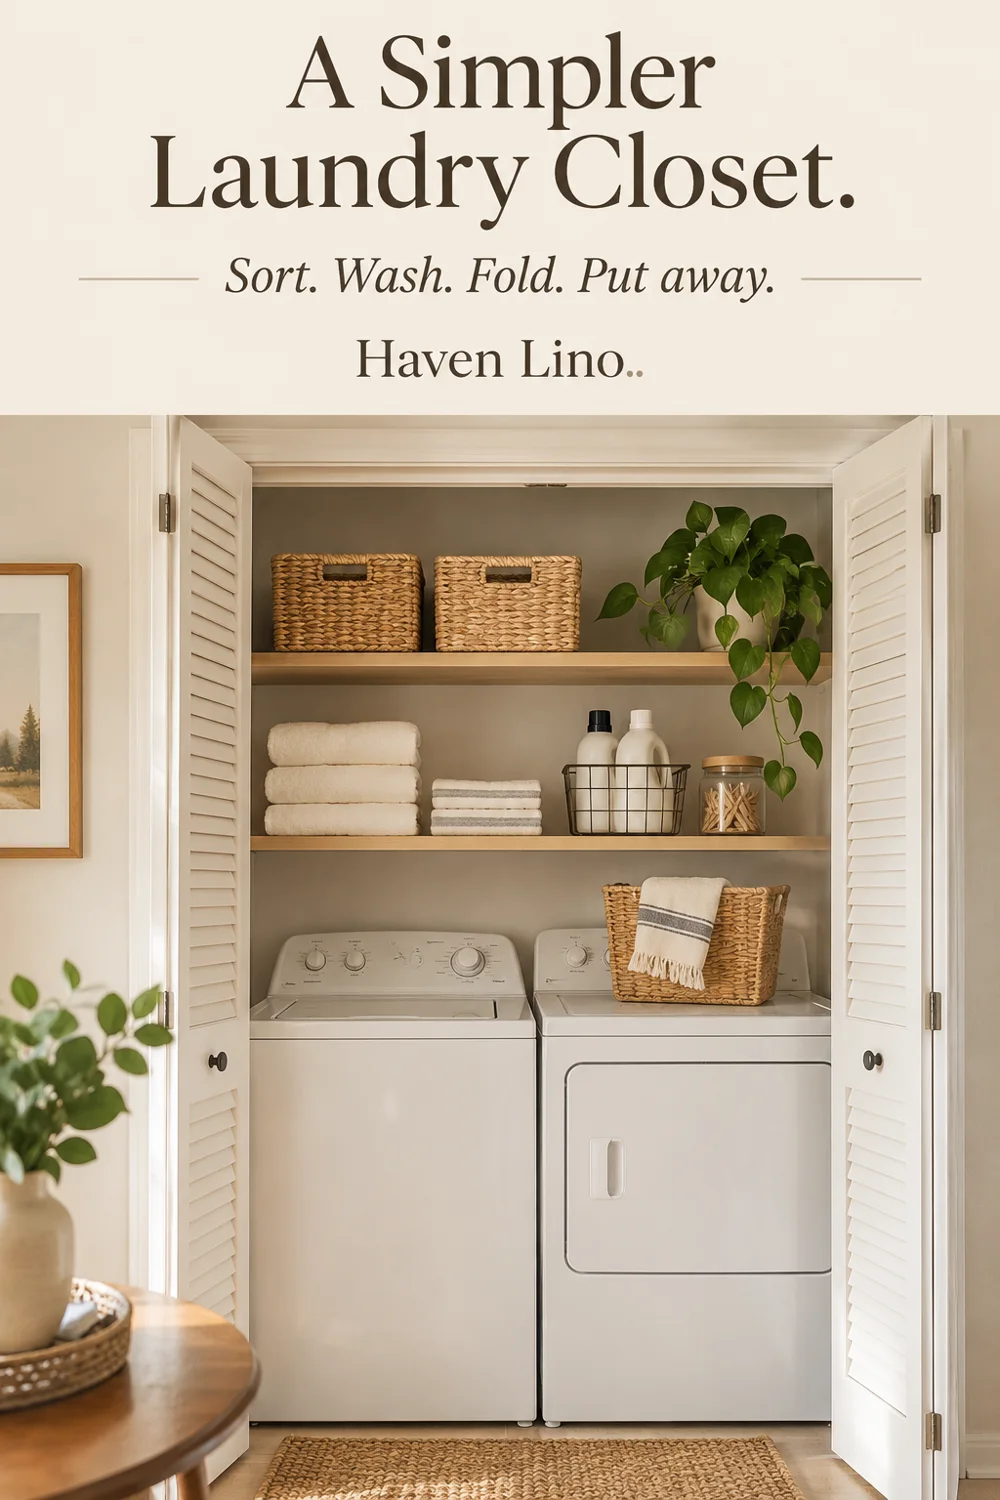
Try the closet with fewer supplies, clear shelf purposes, and one clean-laundry destination. Run several loads before buying anything else. The most useful improvement is the one that removes an extra movement from a routine you repeat every week.
If the problem is the overall machine arrangement rather than shelf organization, compare these small apartment laundry layouts. For related projects, explore home storage solutions and renter-friendly organizing ideas.
Product-storage reference
Review the American Cleaning Institute’s laundry safety tips for original-container storage and safe handling. Always follow the labels on your own products and the manuals for your appliances and storage furniture.